

Here's a fun DIY project for a rainy day. (Or sunshiny day, for that matter.)
Follow this step by step guide and you'll have an adorable custom made notepad in no time.
Here's what you'll need:
Straightedge
Kraft paper - heavier weight like card stock works best
Twine or string
Hole punch
Exacto knife
Blank paper or notebook paper
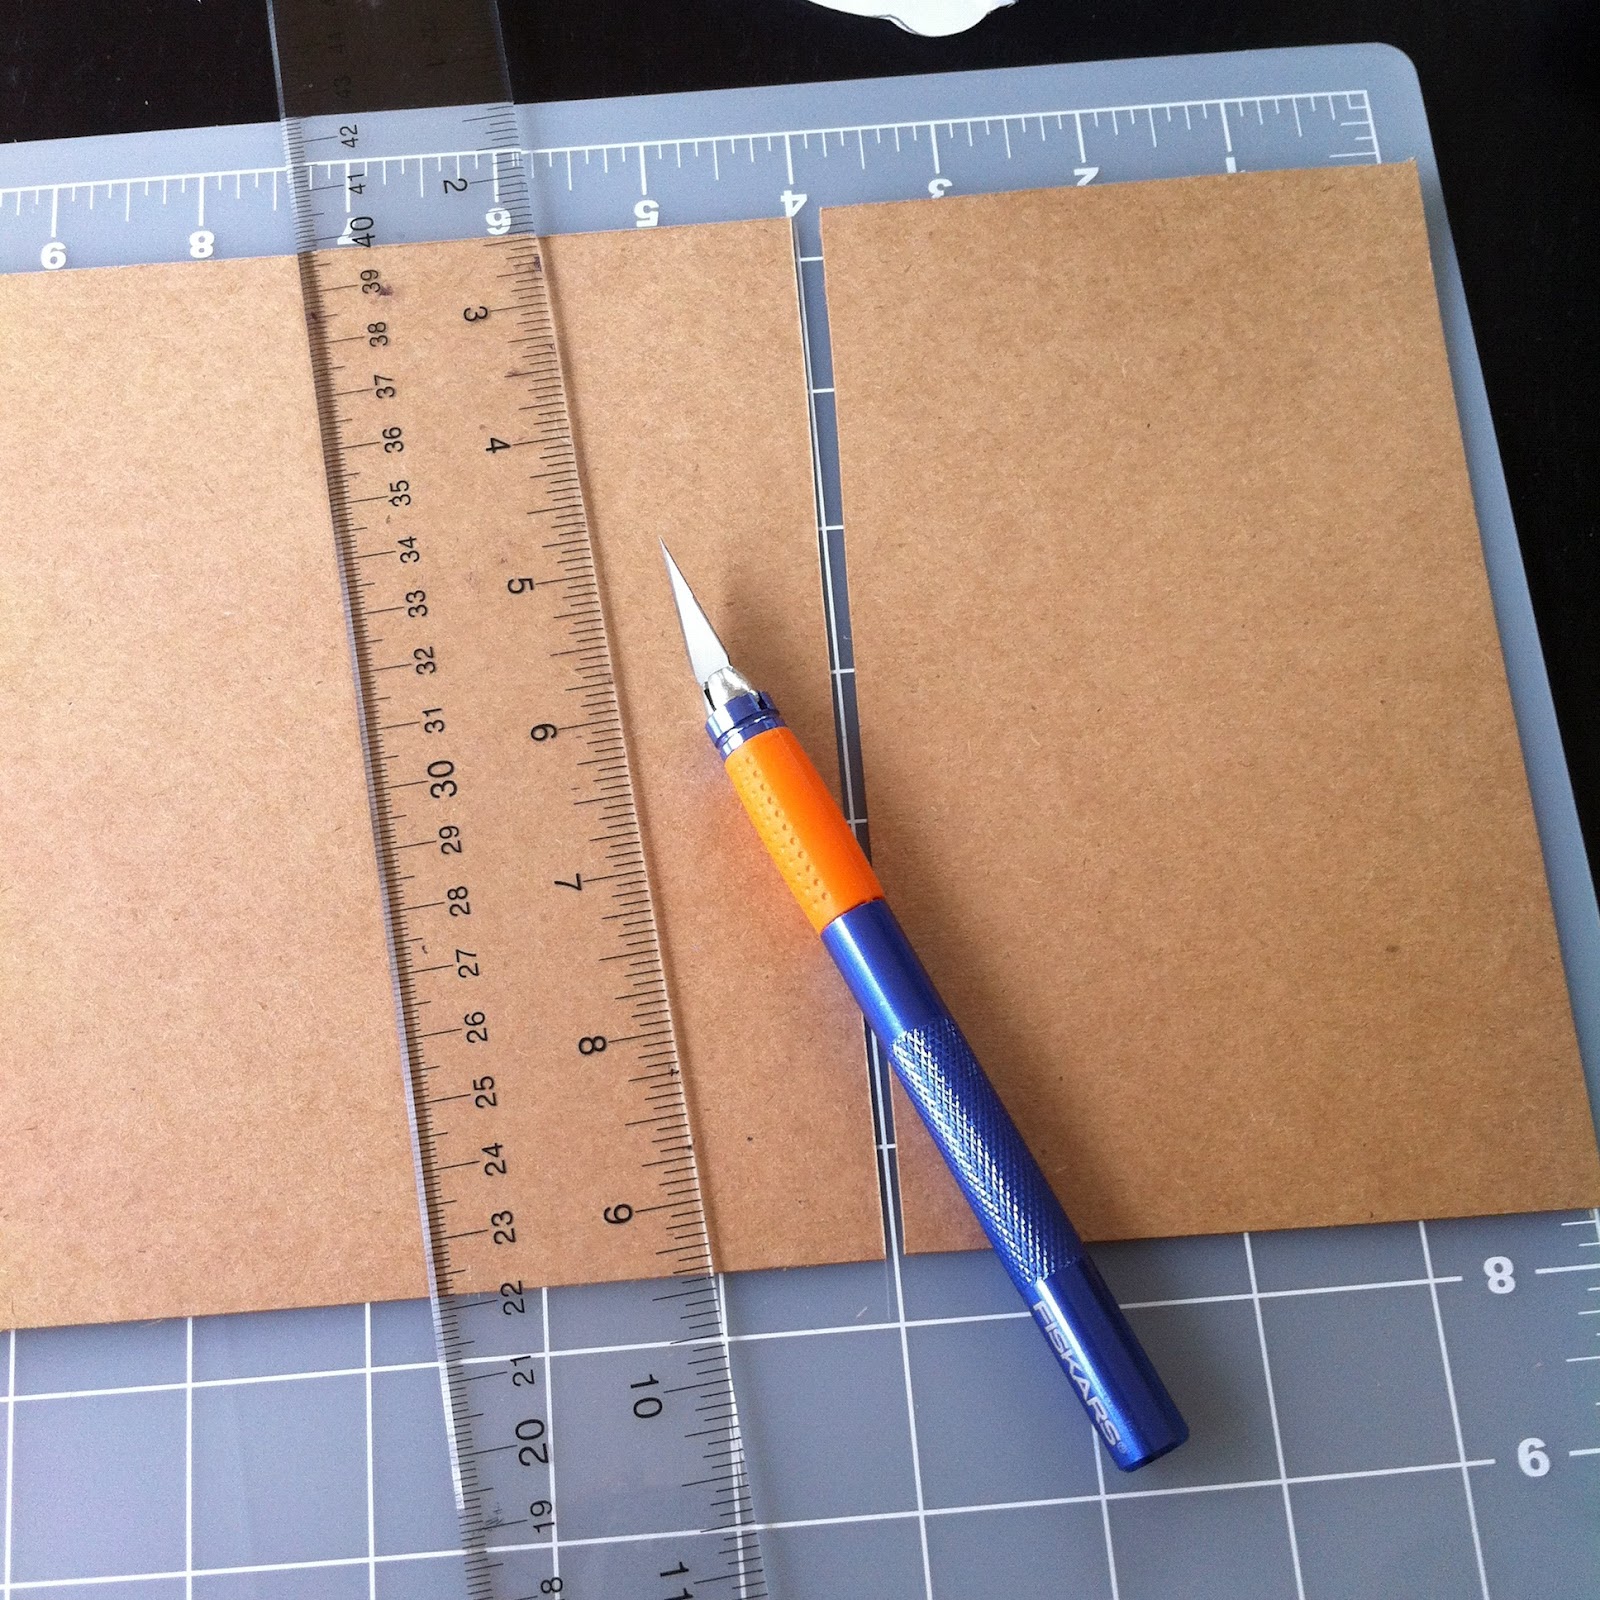
1. First start out by deciding how large you want your notepad to be. I made mine roughly 4"x5", but you'll want to add about an inch extra for the fold. Make your measurements and cut the kraft paper with a straightedge and exacto knife.
2. Second, cut your paper to size. I just used old notebook paper I had lying around, but you could use any kind of paper you like.

3. Line up your card stock and your paper to make sure they are even.

4. Then with a hole punch, punch two equally spaced holes in the center of your card stock.


6. Next, get out your twine and loop it from the back to the front of your notepad through both holes.

8. Tie a cute bow and viola! An adorable jotter for you or a friend!!

And if you're not the crafty type, your can alway pick one up at my Etsy shop DipDaDip Design.
No comments:
Post a Comment